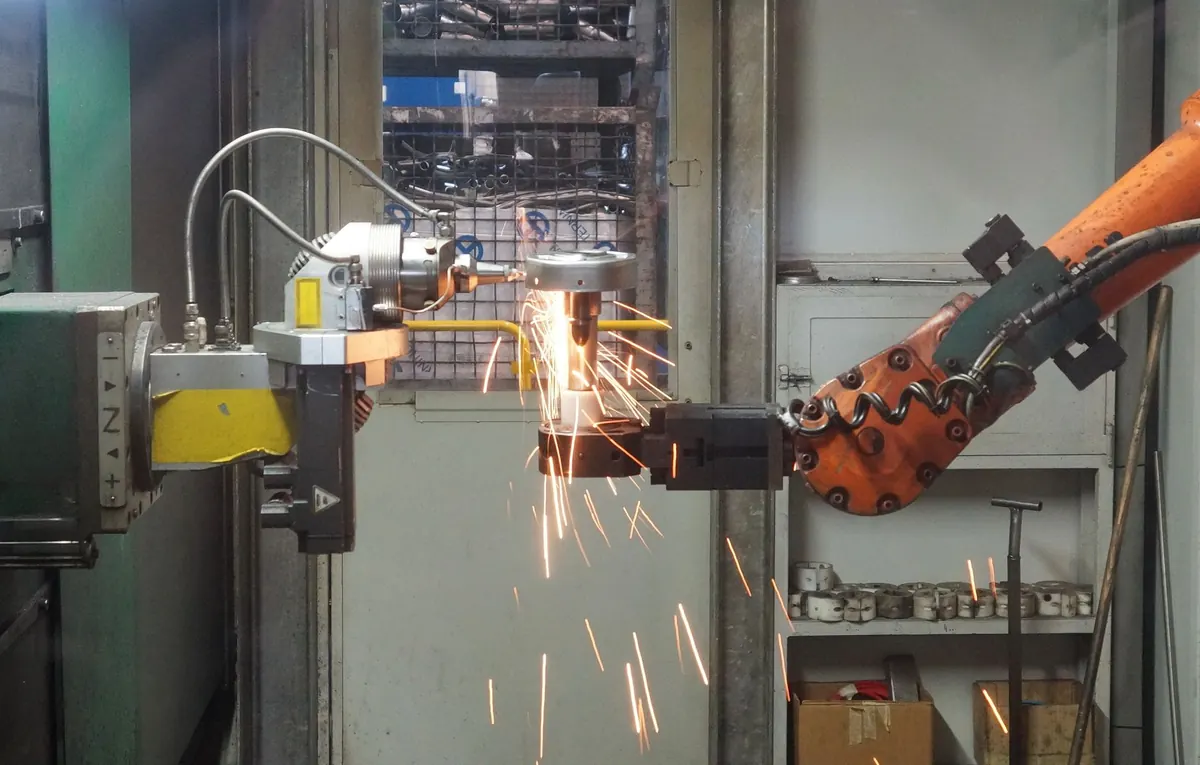
A robotic arm that picks up a cube and drops it in a bin looks trivial in a demo video. Making it do that a thousand times without crushing the cube, clipping the table, or drifting off target is the real work. Simulation is where you do most of that work, because a mistake there costs you a rerun instead of a broken gripper.
Start in Simulation, Not on the Bench
A physics simulator gives you three things a real arm cannot: perfect repeatability, complete visibility, and zero cost per failure. You can log every joint angle and contact force, run five hundred cycles overnight, and deliberately feed the controller a target it cannot reach to see how it reacts.
Be honest about what it is, though. A simulated gripper does not model rubber compliance, cable drag, or a slightly bent mounting bracket. Treat the simulator as the place where you get the logic right, not as proof that the hardware will behave.
Build a Scene You Can Trust
Pick a tool that matches the language you already write. PyBullet and MuJoCo are popular for Python work, Gazebo pairs well with ROS, CoppeliaSim offers a graphical workflow, and MATLAB's robotics toolbox suits people already living in that ecosystem. Any of them will do; switching later is less painful than never starting.
- Load an arm model in URDF or MJCF form rather than hand-building links. A six-degree-of-freedom arm is a reasonable default; fewer joints means more reachable positions you cannot hit.
- Add a ground plane, a table at a known height, and a target object. Use boxes and cylinders for collision geometry — they are faster and far more stable than detailed meshes.
- Fix the arm's base to the world. A floating base will produce motion that looks plausible and is completely wrong.
- Set gravity, a fixed timestep, and a real-time or faster-than-real-time mode. Record the timestep; you will need it when converting trajectories.
Keep the First Scene Boring
One arm, one flat table, one cube, one bin. Every object you add before the basic cycle works is another thing that can explain a failure.
Define Your Coordinates Before You Write Motion Code
Most beginner bugs are frame bugs. Decide early which frame every number belongs to, and write it in the variable name.
World, base, and tool
The world frame is your reference — say, the table surface with the origin at one corner. The base frame sits at the arm's mounting point. The tool frame sits at the point that actually touches objects, usually the centre of the closed gripper jaws, not the flange. Offsetting the tool frame by the gripper's length is a five-minute job that saves an afternoon of confusion.
The reachable workspace
Before trusting any target, sweep joint angles and compute forward kinematics to see where the tool can actually go. A target that looks reasonable in a top-down view may sit just outside the arm's reach or force a joint past its limit.
Gripper geometry
Know three numbers: the jaw opening range, the depth from the jaw tips to the palm, and the approach direction the gripper needs. For a 50 mm cube centred at (0.45, −0.10, 0.025) on a table at z = 0, your grasp pose is that point offset upward along the approach axis by the palm depth.
Turn a Target Pose Into Joint Angles
Inverse kinematics converts a desired tool pose into joint angles. The practical details matter more than the mathematics. Seed the solver with the arm's current configuration so it returns a nearby solution and the motion looks natural. Check every returned solution against joint limits before using it. Reject solutions that are wildly different from the previous one — a sudden flip in the elbow configuration is a collision waiting to happen.
Solver failures are normal, not exceptional. When no solution exists, log the target, stop the cycle cleanly, and move on. Do not add a fallback that quietly ignores limits; that is how arms end up inside tables.
The Pick-and-Place Cycle as a State Machine
Write the routine as explicit states with waypoints. It is easier to debug and easier to pause.
- Home: move to a known safe pose above the table.
- Approach: travel to a point directly above the object at a safe height, typically 0.10 to 0.15 m above the surface.
- Descend: move straight down to the grasp pose.
- Close: command the gripper closed and wait a short settle time before lifting. Skipping this pause causes a surprising share of dropped objects.
- Lift: retract vertically back to the travel height.
- Transport: move to a point above the bin.
- Release: descend, open the gripper, pause, then retract.
- Verify: check the object's position in the simulator and record success or failure.
Travel on a plane, not in a straight line
A Cartesian straight-line move from the table to the bin will happily cut through the table edge. Constrain transport moves to a horizontal plane at a safe height and connect them with vertical moves.
Test in Layers
Do not jump to the full cycle. Each layer isolates one class of bug.
- Joint limits: command every joint to its extremes and confirm the model stops cleanly.
- Self-collision: sweep through the workspace slowly and watch for link intersections.
- Table collision: run approach and descend with an empty gripper.
- Grasp: close on the object and lift 20 mm, checking that the object moves with the tool.
- Placement: run the full cycle once, then ten times, then a hundred.
- Randomisation: vary the object's position within a small area and count failures.
Never disable collision checking to make a stubborn cycle pass. That setting exists to be trusted.
What Simulation Will Not Tell You
Contact models are approximations. Friction, gripper pad compliance, and small manufacturing tolerances will shift your results on real hardware. When you do move to a physical arm, run the same routine at reduced speed with no object in the gripper, keep an emergency stop within reach, and add guarding before anyone stands nearby. If you are working with industrial equipment, get proper safety training first — this is not a place to improvise.
A First Project Worth Finishing
Set a target you can measure: pick a 40 mm cube from five marked positions on a 0.4 by 0.4 m table and place it in a bin, twenty times out of twenty, with no collisions and final position error under 5 mm. Log every cycle's outcome to a file so you can see which positions fail and why.
When that works, tighten one variable at a time — randomise the cube's position, add a second object, shorten the settle time — and watch where the routine breaks. The bug that appears at cycle forty is the one worth fixing, and in simulation it costs you nothing but a few seconds.
Photo: alex / Pexels